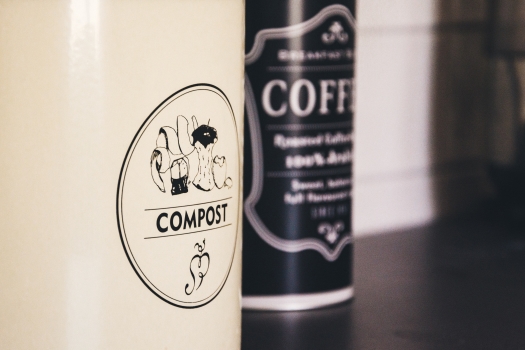
Many of us’ve thought about composting waste, but never made the time for it. While we’re staying at home, it’s the perfect time to start a compost bin and develop the habit of composting. This DIY project can improve air quality, enrich the soil, and alleviate landfill woes. Kitchen and backyard composting is not only FREE and incredibly beneficial, it requires little effort—a definite win, win, win for gardeners.
According to the UGA Extension, “Composting is the natural process of decomposition and recycling of organic material into a soil amendment known as compost.” Compost is a magical soil enhancer. It helps retain moisture, eliminates the need to use commercial fertilizer, and encourages vigorous plant growth. A good garden can be made great by improving the soil with home-made humus.
Statistics show that compostable waste, which creates greenhouse gases as it decomposes, makes up almost 25% of the world’s garbage. The simple act of composting reduces the amount of garbage in landfills and improves air quality by breaking down waste quickly and safely. Let’s look at what goes into the compost bin and how to make an outdoors or indoors compost bin so the magic can happen.
Composting starts with layers of brown matter and green matter
- Brown matter provides the carbon needed for composting
- Brown matter includes dry leaves, wood chips, straw, sawdust, smushed egg shells, coffee filters, corn stalks, shredded brown corrugated cardboard, and shredded newspaper
- According to Planet Natural Research Center’s Composting Paper: How to use cardboard and newspaper in your compost pile, you should only use plain newsprint and plain brown corrugated cardboard—no glossy pages, no colored ink, no bleached white paper
- Green matter provides the nitrogen needed for composting and most of the nutrients that enhance the soil
- Green matter includes food scraps, grass clippings, coffee grounds, tea leaves, manure, and recently pulled weeds
- Never put cooked food, dairy products, meat, fish bones, or fat in your compost bin—these substances produce odors that can lure pests
- Aim for a ratio of about 4 parts browns (carbon) : 1 part greens (nitrogen) for outdoors composting and 3 brown : 1 green indoors
- If your compost is smelly (yuck!), add more browns
- If your compost doesn’t get warm, add more greens
- Read more at Gardening Know How: Understanding The Browns And Greens Mix For Compost
- Be sure and mix in some water to encourage the growth of beneficial bacteria/fungi—these helpful agents break everything down and eventually create rich, organic, nutrient-filled humus
Starting an indoors compost bin
There’s a wealth of great online resources for starting an indoors compost bin. Here are some excellent videos and articles to get you going in about 5 minutes.
- Better Homes and Gardens’ article How to Make Your Own Indoor Composting Bin and 55 second video are chock full of information. If you want a small, sink-side or under-the-sink compost solution, start here—it’s concise, helpful and inspiring!
- P. Allen Smith’s YouTube video DYI Trash Can Compost Bin is twice as long, covers a larger solution, and is also concise, helpful and inspiring—go figure
- Bob Villa’s All You Need to Know about Indoor Composting is a great article with a wealth of information about multiple types of indoor composting
Starting an outdoors compost bin
Although there are myriad compost-related bins, tools, and equipment available on the Internet, there is no need to purchase anything. I got started when a friend who owns a truck brought me 4 wooden pallets and told me to go buy 8 bungee cords; that’s simple construction, and it worked perfectly.
- Place the bin conveniently near the house on a level, dry, shady spot with access to a hose
- Don’t place the bin on tree roots
- Air and water are critical to the composting process
- Keep the pile moist and turn it with a pitch fork as you add ingredients; this maximizes the rate of decomposition
The thermophilic compost process takes place slowly, and the finished product can take months depending on maintenance and conditions. You will be rewarded for your patience. For detailed information on composting, download publications C816 and B1189 from extension.uga.edu.
Let’s get it started.
Photo by Jan Kopřiva on Unsplash

